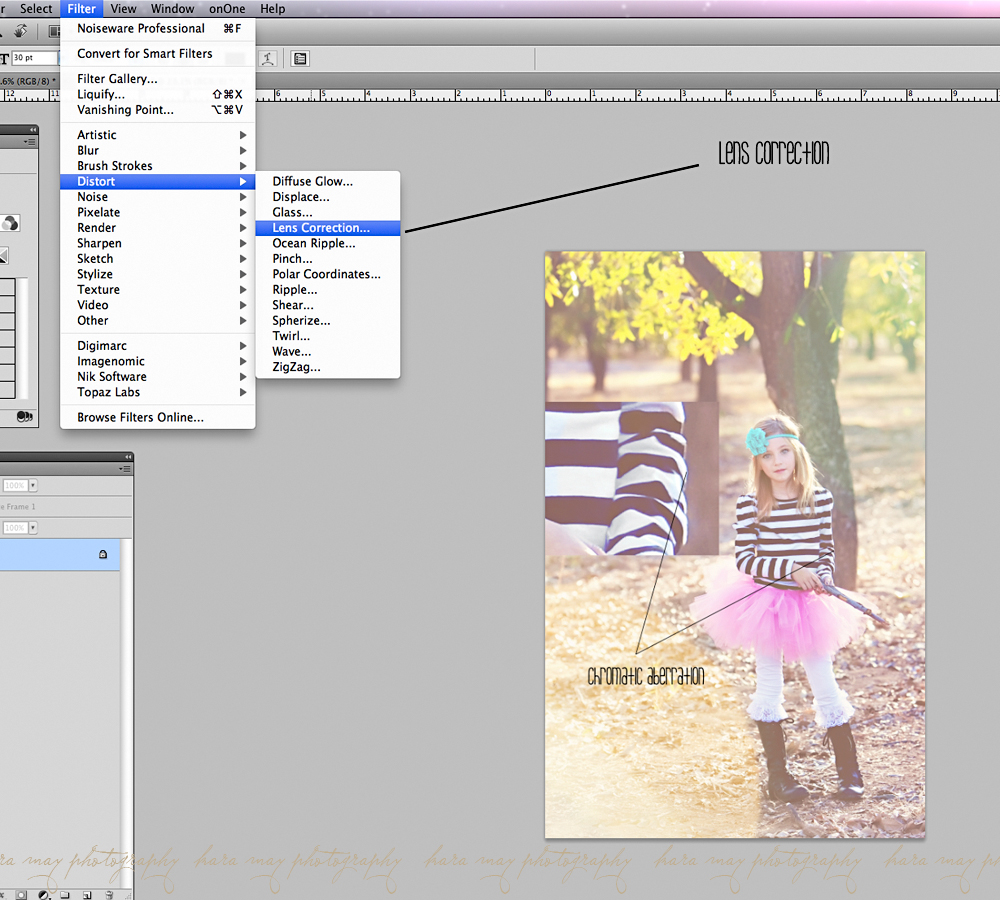
It's that time again! Shop Talk! I love doing this series and covering topics that I focus on in my images. Today is all about 'Chromatic Aberration' and how to avoid/correct this annoying occurrence in Photoshop. So what is Chromatic Aberration? Chromatic Aberration is a distortion in color also called 'color fringing'. It's a common problem that occurs when the lens can't bring together all the color wavelengths into the same focal plane. It's very common in high-contrast situations. Most of us have seen this and it's a pain since it doesn't represent the true look of the photo. But there's a way to correct it! I'll explain it using the images below. So the first image it's hard to see so I've blown up a portion of Brielle's 'high contrast' shirt so you can see where I have to correct the color dispersion.

In the blown up area, you can see more of the color aberration that I need to correct.
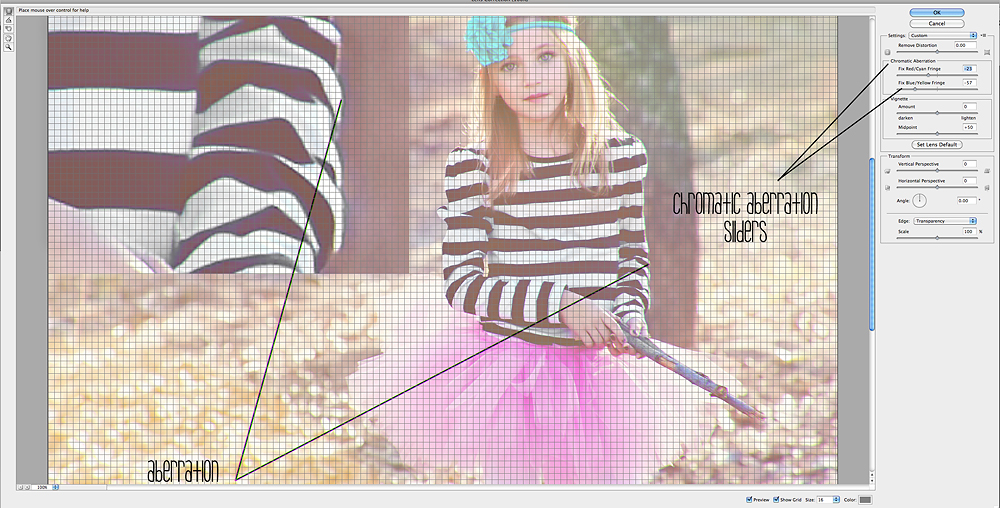
To correct this in photoshop go to 'Filter'- 'Distort' - 'Lens Correction'. You'll find the sliders used to correct the distortion to the right.
Depending on the image you are correcting the sliders will need to be altered accordingly. Make sure you blow your image up (200%+) to see the aberration problems so you can move the sliders according to the colors that need to be corrected on your image.
below: correction made
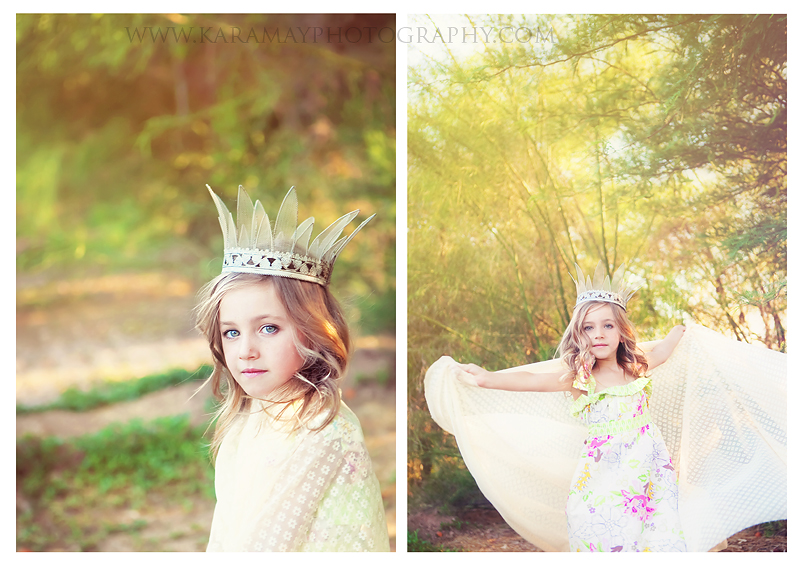
Final Image with 'Chromatic Aberration' corrected. It's a small change but makes the image look a little cleaner, minimizing color disruption.
I hope this was helpful. I've been getting some topic suggestions from blog viewers. Feel free to e-mail me at kara@karamayphotography.com with any suggestions you might want me to cover. I'll try to get to them as I can. Thanks for viewing my Shop Talk post!


 I posted this image along with a few others on Facebook and have had many, many e-mails asking me where I got the crown Brielle is holding {above} and wearing {below}. I feel so lucky to be able to photograph this beautiful vintage crown for


 It's summer!! And summer is getting hot here in the desert. But I was lucky to have this great client withstand some of the warm summer sizzle recently. And their little cutie who just turned one was a joy to photograph. He was so good natured and like all my little clients his age, loved the rocks and dirt. Yes, getting 'dirty' is a part of our session and thankfully these parents were fine with that. I really enjoyed meeting and photographing this beautiful family. Check out a few images from our session :)

